
Guilty until approved - Customer & Vendor Approvals in Business Central
Hello Readers,
I would like to focus today on something that we are often asked about during projects — Customer & Vendor approvals. Many companies wish to have better control over the counterparty creation process in Business Central.
Why? There can be plenty of reasons, starting with making sure that the correct posting groups have been selected, and ending with extensive credit control processes.
Regardless of the specific motivation, let's see what the vanilla version of Business Central has to offer to support this.
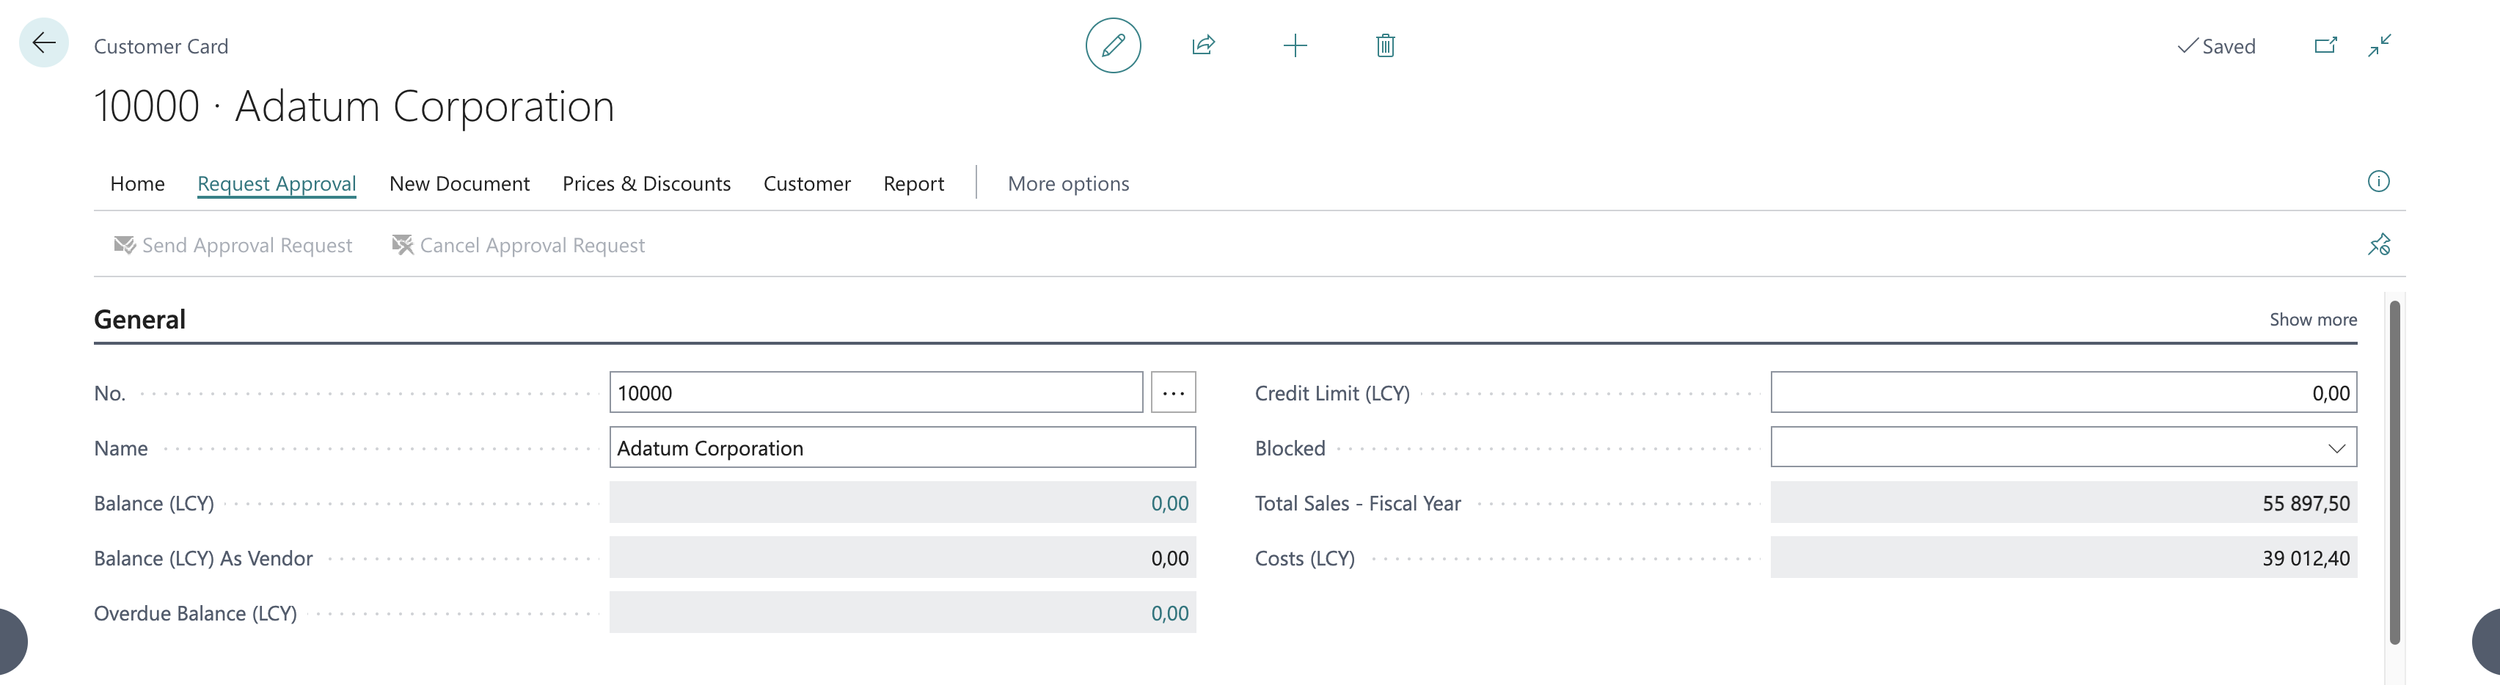
You are certainly familiar with the Request Approval actions on the customer and vendor cards, but they need to be configured before they do anything useful. I will focus on the customer side here; the same logic applies to vendors.
Two ways to approve a customer
There are two ways of handling approvals in Business Central — the built-in Workflows and Power Automate. If you need to catch up on either concept, Microsoft Learn is a reasonable starting point.
Let's start with the built-in mechanism. Call me old-fashioned, but in my opinion it is still the better choice in most cases — I will come back to why at the end.
Approving customers with the built-in workflow
To avoid creating something from scratch, we can look at Workflow Templates. There we will find two customer-related entries: Customer Approval Workflow and Customer Credit Limit Change Approval Workflow.
It's quite easy to spot that these are very similar. The main difference lies in the first workflow step: the first is triggered by sending a customer for approval, while the second tracks a specific field change. At first glance the Customer Approval Workflow appears to be exactly what we are looking for, but it is (almost) completely useless.
It is triggered by the Send Approval Request action, and only by that. You might expect some mechanism forcing the user to run the approval at least once — after creating a customer and before any posting, the way releasing a Sales Order works — but there is literally nothing. So how can a company build a working procedure around that? It can't, can it?
If only there were a field that prevents postings for a customer, we could reuse the Customer Credit Limit Change Approval Workflow logic to build something that actually works.
But wait — we have Blocked.
It's an enum with four values: <blank>, Ship, Invoice, and All, where each consecutive value represents a higher level of restriction. In other words, when we change the value towards <blank>, we are decreasing the level of locking.
Taking that into consideration, we can adjust the first step of the Customer Credit Limit Change Approval Workflow to look something like this:
The ready-made import files are on GitHub — UnblockCustomer.xml and UnblockVendor.xml.
Now, if we go back to our customer and try decreasing the level of locking, it triggers the approval workflow. The new Blocked value is temporarily reverted and applied only once the change has been approved.
Are we done? Almost.
The gap: blocking new customers
The workflow governs unblocking. For it to mean anything, every new customer has to start blocked.
Setting Blocked to All on every Customer Template covers customers created from a template in the client. It does not cover customers arriving any other way. The robust answer is a small customization on the customer's insert that forces Blocked := All.
Doing the same with Power Automate
Let's go back to the customer card. Here, as in many other places in the system, we find the Power Automate section with the Create Approval Flow action.
After using it, the system displays ready-to-use templates that can be customized further. For the sake of this article, we will select the first one.
In the following window, you will see the list of apps the flow will use. A green checkmark means you have a valid connection and are good to go.
A small digression — take a look at the flow description. I am not a native speaker, but I am fairly sure it says the approval will be sent when a customer is created. Sounds promising. Don't hold your breath: it's a white lie.
Moving on, we find something far more interesting: the Edit in advanced mode action.
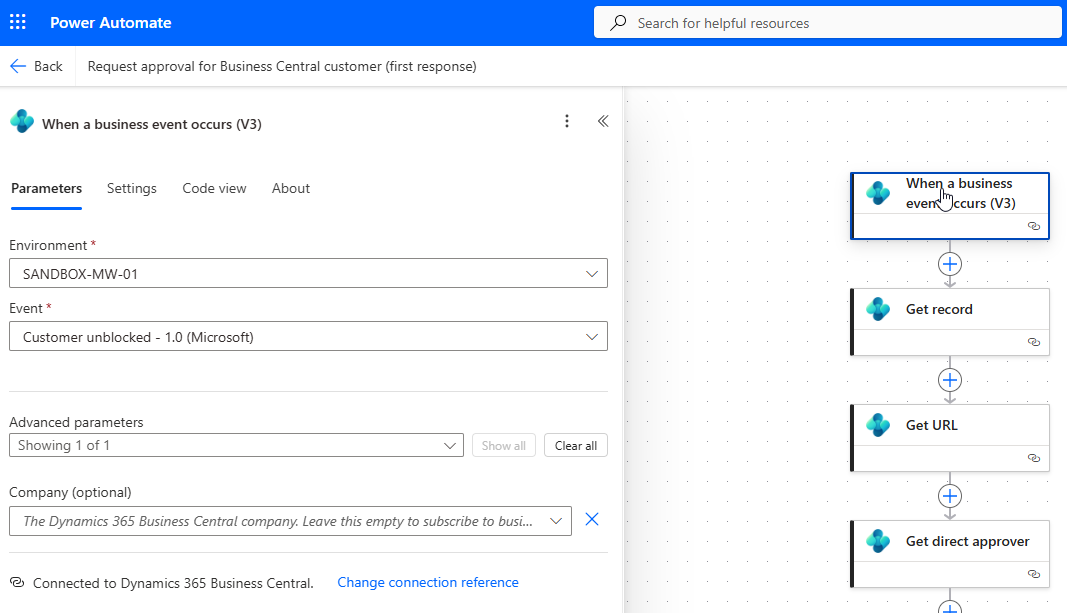
It opens the block editor where we will see a list of workflow steps (similar to the built-in mechanism, just with a different UI). For us, the most important block is the first one - our When a customer approval is requested trigger.
But wait. It sounds a bit odd, doesn’t it? We were promised something that fires when a customer is created - not when approval is requested. The sad truth is that we are not getting what we were promised; we are getting the same trigger as before, just exposed as a webhook. So we are hitting the same wall, just with a different tool.
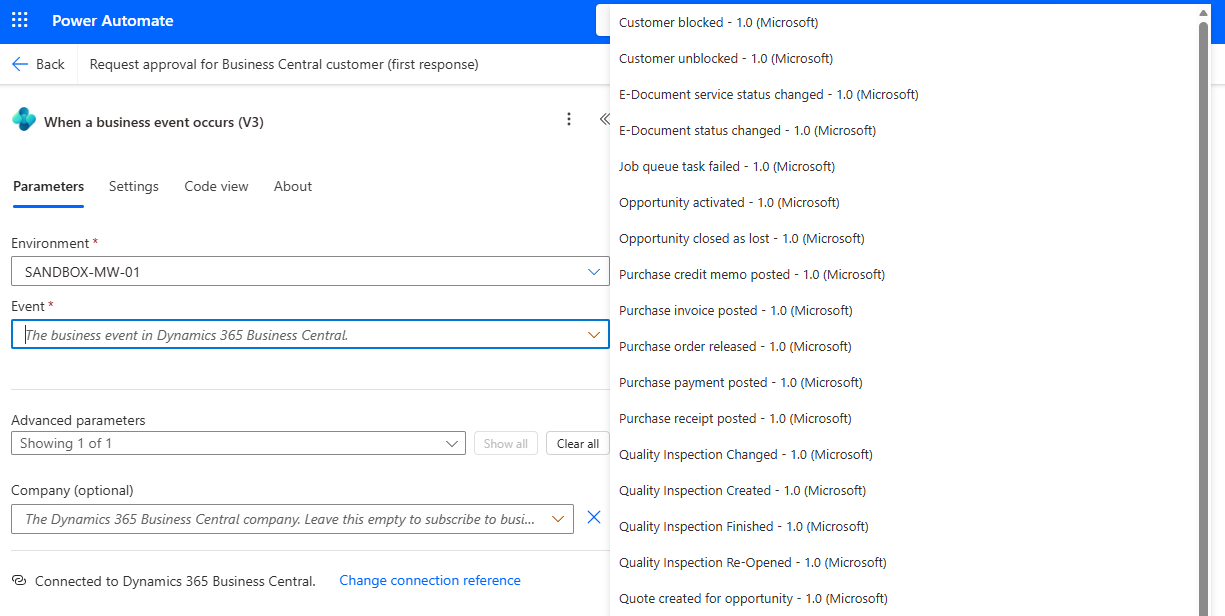
What can we do about it? You guessed it: we can reuse the Blocked pattern — to some extent, at least. Microsoft prepared two external business events for us in AR External Events (codeunit 38502): CustomerBlocked and CustomerUnBlocked. They are part of the standard Business Central business events catalog under Accounts Receivable, available from version 22.2.
The difference you might notice is that CustomerUnBlocked is not raised whenever the restriction is loosened, but only when it is removed entirely. Going from All to Invoice raises nothing. So we are not getting the same level of security out of it.
[EventSubscriber(ObjectType::Table, Database::"Customer", 'OnAfterValidateEvent', 'Blocked', false, false)]
local procedure OnAfterValidateCustomerBlocked(var Rec: Record Customer)
var
    Blocked: enum "Customer Blocked";
    Url: Text[250];
    WebClientUrl: Text[250];
    CustomerApiUrlTok: Label 'v2.0/companies(%1)/customers(%2)', Locked = true;
begin
    Url := ExternalEventsHelper.CreateLink(CopyStr(CustomerApiUrlTok, 1, 250), Rec.SystemId);
    WebClientUrl := CopyStr(GetUrl(ClientType::Web, CompanyName(), ObjectType::Page, Page::"Customer Card", Rec), 1, MaxStrLen(WebClientUrl));

    if Rec.Blocked <> Blocked::" " then
        CustomerBlocked(Rec.SystemId, Rec.Blocked, Url, WebClientUrl)
    else
        CustomerUnBlocked(Rec.SystemId, Rec.Blocked, Url, WebClientUrl);
end;

[ExternalBusinessEvent('CustomerBlocked', 'Customer blocked', 'This business event is triggered when a customer is blocked for shipping/invoicing.', EventCategory::"Accounts Receivable", '1.0')]
local procedure CustomerBlocked(CustomerId: Guid; Blocked: enum "Customer Blocked"; Url: Text[250]; WebClientUrl: Text[250])
begin
end;

[ExternalBusinessEvent('CustomerUnBlocked', 'Customer unblocked', 'This business event is triggered when a customer is unblocked for shipping/invoicing.', EventCategory::"Accounts Receivable", '1.0')]
local procedure CustomerUnBlocked(CustomerId: Guid; Blocked: enum "Customer Blocked"; Url: Text[250]; WebClientUrl: Text[250])
begin
end;
Using these is quite simple - we need to change the trigger to When a business event occurs; the rest remains the same.
Recommendation?
And that is how I am handling Customer & Vendor approvals in Business Central. My honest recommendation is to go with the built-in workflow if you want real control: it reacts to any loosening of Blocked. Reach for Power Automate when the approval genuinely has to leave BC.